Puzzle jewellery, a hard media folded and moulded into interesting shapes taken from samples and experiments from a researched historic piece of clothing.


Design making
Puzzle jewellery, a hard media folded and moulded into interesting shapes taken from samples and experiments from a researched historic piece of clothing.
Acrylic bent in three ways in 30 seconds, its difficult to handle hot acrylic in heavy duty gloves and form a appealing shapes. Making sure the screw holes all lined up with tactile moving parts.


A man’s Elizabethan collar, would normally fit neatly on top of a Jerkin or a Doublet, a small delicate lace ruff, to project to the world class and status. My necklace is created from individual hand sculptured pieces of perspex. The light bounces off of the laser cut holes, threaded and intwined onto a choker style necklace. A light, versatile and unique necklace, it hangs multi layered around the neck. A statement piece of jewellery projecting a historical story in a contemporary way.


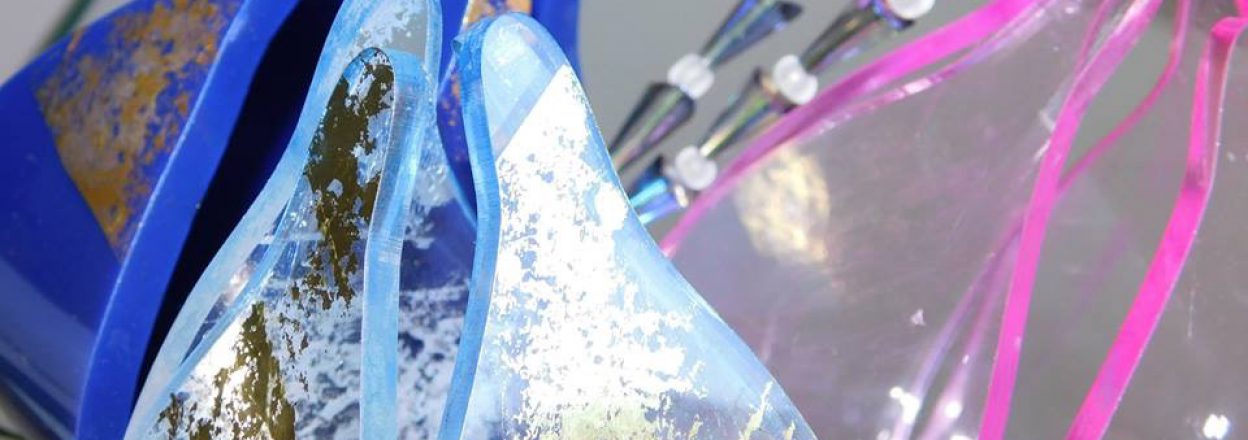
Using a new two tone acrylic, its takes longer to heat and mould, also tried some leather in the laser cutter, but it burns quite easily. Need to change the size screw holes to fix easier together.
Dip dying both ends of ovals in different colours, the colours are more intense in the cuts and holes. Difficult to mould two ways in 30 seconds before the media hardens.
With the fly stitch finally in place and rivets all fixed, it was time to join the two halves together. Before I had tested with acrylic glue and had different results on curved pieces so I wasn’t looking forward to adding any glue to my complete stitched and screwed body. Decided it was not the way forward the glue as it would be too visible through the body and it is quite uncontrollable. With a sharpe drill piece and lines marked out drilled the centre hinge. secured it with a 2.5mm nylon screw then cut off ends. repeated again on all hinges twice, although difficult to pick up now then hinges set the right tone and work well if it needs to be opened out to mount for display.


Completed ahead of time a 3D Jerkin its glass like appearance looking fantastic. Studio photos showing the shadows for a new audience.
First look at a half of the jerkin finished, quite like it clear glass like colour!


Researching Blackwork embroidery to create a clean visible stitch for the piece. Which can be viewed back and front the same. Used different threading medias but settled on a navy linen thread , strong enough to pull on the Perspex , thin enough to thread through 2.5mm holes. To Enhance the collar added cut work brass motifs stitched with dyed thread to match the leather lacing.


To create pelmet pieces for the bottom of the Jerkin, I tried out various shapes with a laser cut line. Then after the dying process I heated them to 180 degrees and moulded them over a giant steel bolt in the work bench vice. I learnt the less you handle the media the better as it finds its own level, giving a natural sculptured look, without thumbs prints and gloves marks in. You only get 30 seconds to mould into shape before it becomes solid once again. Also making sure the drill , holes match up with a small tool, so they will take the 2.5mm nylon screws once its returned to the hard media.


