Absolutely beautiful porcelain clay, her pieces remind me of Richard Deacons sculptures. I like the smooth texture and the way in which she is able to create tone and depth within her three-dimensional structures. I would like to produce samples that have an element of this. I will use techniques such as appliqué and embellishment to recreate this.

Month: April 2016
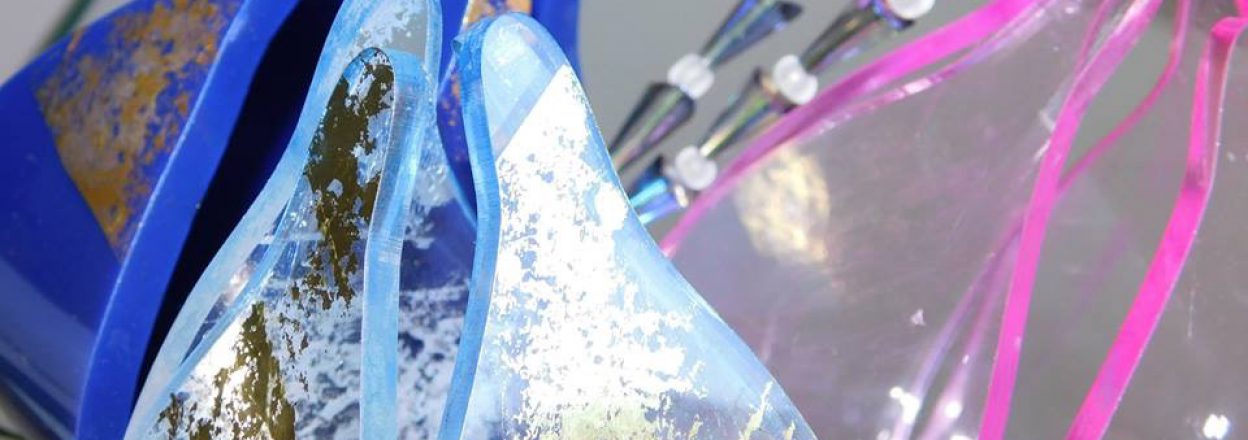
British Museum – Inuit Parka
Made from the intestines of whales!

Inspiring artist – Vicki Grant
After 30 years of being an architect Vicki is now feeding her passion for clay and found objects, celebrating organic materials. She has blended both passions together creating art work that maniputles form, texture and materials .
Her wall pieces are beautiful using found ammonites which are my favourite fossils, I have a windowsill full of things that are interesting for me but junk to someone else. She gives her objects new life and meaning within the clay.
The last 5 years she has collaborated with Myron Whitaker and together they create Vessels, which she said has expanded her horizons.

Inspiring artists – Clyde Olliver
Clyde Olliver stitches through slate, I like the idea of soft media stitched into un expected solid slate, looks almost prehistoric . The long slate pieces with zigzag reminds me of a vertabrae backbone! This has made me stop and think of using different textiles under my sewing machine!

Fusing papers, lace and lutradur


 Using fine cake wires bend them into a leaf or petal shape, not to small as you have to be able to stitch on the sewing machine. I chose a fine Japanese paper, which I knew I could not burn. Lutradur which would take print and burn very well and then combined a simply small patterned lace with lutradur. Twisting the wires into a shapes I then added a large piece of media /papers behind, stitch with a small width zigzag across the wire. I chose a white top cotton thread and a blue bottom thread to give a mottle effect.
Cut media around close up to the wire, then print a design on the lutradur pieces , I used copper and rose coloured embossing powders. When heated some print will stay visible while giving a cob web feel to the piece as it burns away. Used gold and silver wax on the edges of the wire pieces and also on the lace for effect. I Dyed some large patterned lace ,then placed lutradur on the back combining the two to be stitched together. Embossed and heated .
When your sampling is finished you can twist your wires into many different shapes adding beads or other wires I chose to make a giant steampunk bug and a silver corsage.
Learning outcomes :-
Use the fine white wires as the gold and silver thicker wires tend to get taken down into your feed dogs if you hit them with your needle while zigzagging. Unless you want the wires showing , turn over and work on back piece of media. Use a small design for embossing to be visible. take your time preparing your wires and stitch carefully around incorapating all parts of the wires onto the media. Next time will try prepared papers adding the wires to afterwards. Also I want to make a square sampler with all the different choices of Dissolving and melting Media available to see the best options for future projects.
Sublimation and puff binder on stitched chamois

Chamois leather sampling
While sampling chamois leathers for my polar clothing ( as I felt it was the closest fabric to seal skin) I found out that it took sublimation paints really well. I had wanted to dye the skins but didn’t want them to turn slimy and unable to take any stitch. As all dyes require water this process would not of given me the sampling fabric I wanted to work on. Obviously there was a little shrinkage under the heat press but once again a happy accident the stitched chamois leather looked better. As it hadn’t only just taken the paint but now showed the stitches as well. It reminded me of my sisters old sheepskin jackets in the 1970’s. As I had intended to appliqué this piece I had to change my ideas slightly to accommodate the stitch. So by adding the appliqué to a thin layer of gold coloured netting, I was then able to attach them together. I trialled several ideals with the transfer paints to achieve the colours of the world on polyester and acetate. I Went with the acetate version then gave it more texture by adding a web nylon fabric to knock back the shine , which was in keeping with my drawings and the old sepia maps in my research.


Printing directly onto your fabric requires perfect drawings and I have been searching for the perfect circle shape to represent the world. When cutting an onion I found my perfect shape along with inner circular fine lines ,what could be better!
Again for a sample, I dyed a piece of cotton jet black and I had intended to use discharge paints on, after looking through the cupboard in the print room, decided on puff binder. This would also add raised texture as well. So I painted the cut in half onion with puff binder adding white paint as still thinking of my polar landscapes and printed with different amounts of binder. A quick time under the heat press , not pressing , aloud the binder to rise. Repeated again but this time I added a small amount of blue still hoping to create the visual image of looking at the world from outer space. I was quite please with the results and used on acetate also.
